Scoring Strategy Guide
A step-by-step walkthrough showing how to approach any puzzle and work towards the optimal score.
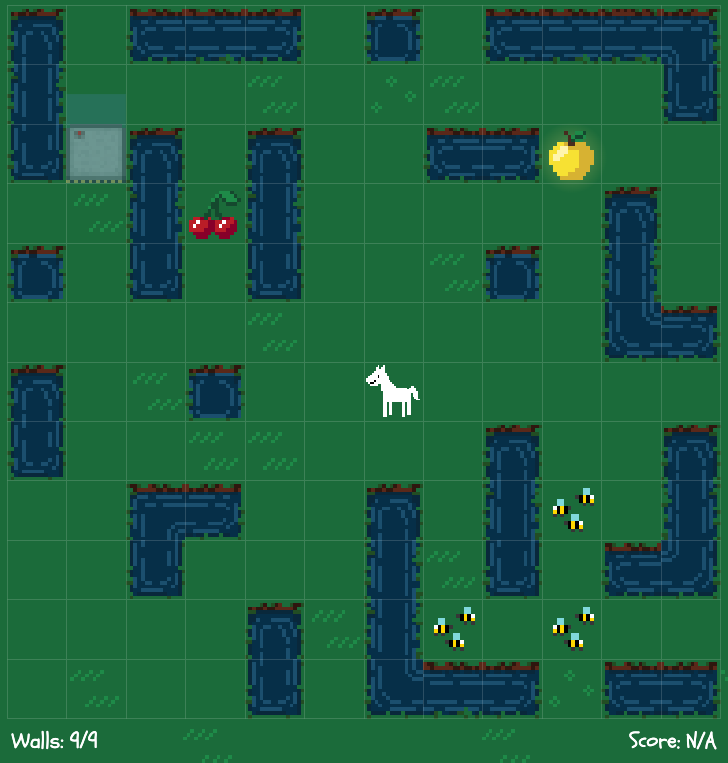
Assess the Board
Before placing any walls, take a moment to study the puzzle. Look at where the horse is, how many walls you have, where special tiles are located, and which edges or water tiles you can use as natural barriers.
Enclose the Horse
Your first goal should be to create any valid enclosure around the horse. Don't worry about maximizing your score yet, just make sure the horse can't wander off.
This gives you a baseline to build from. Once you have a working enclosure, you can start expanding it strategically.
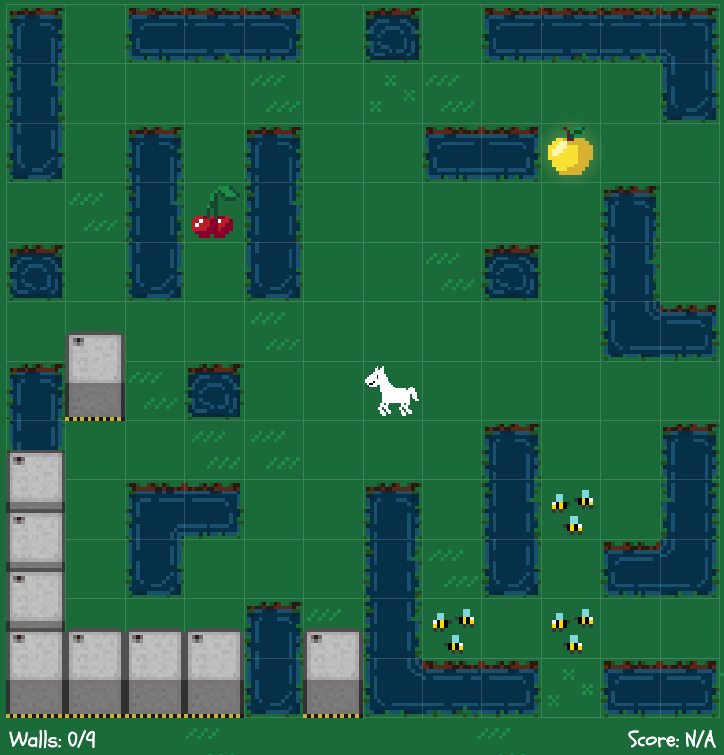
Avoid Costly Areas
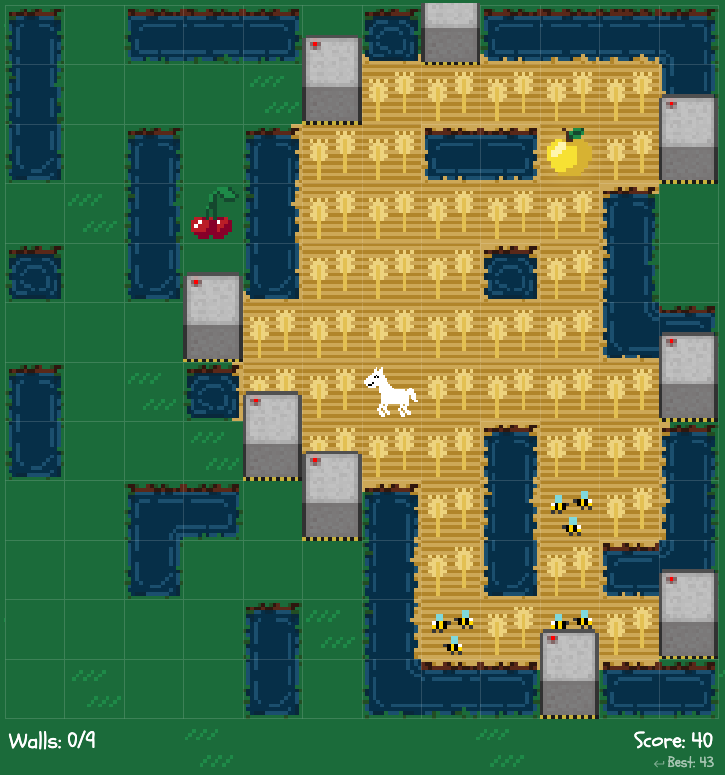
Watch out for areas that require many walls to enclose but only gain you a few points. In this puzzle, there's an area in the bottom-left that's deliberately designed as a pitfall. It looks tempting to enclose, but would eat up too many walls for too little payoff.
Always ask yourself: "Is the number of tiles I gain worth the walls I'm spending?" If you're using 4 walls to gain 3 grass tiles, those walls are almost certainly better spent elsewhere.
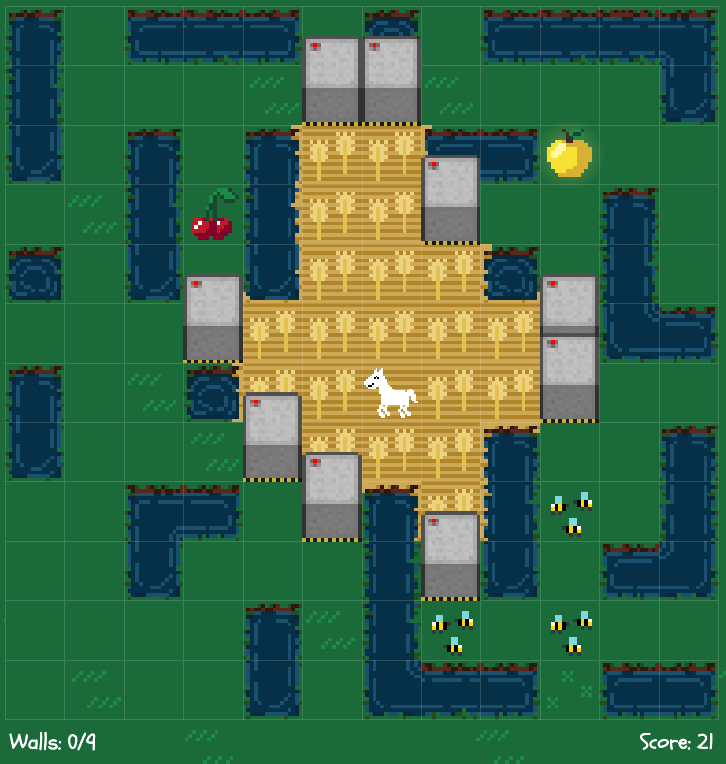
Chase High-Value Tiles
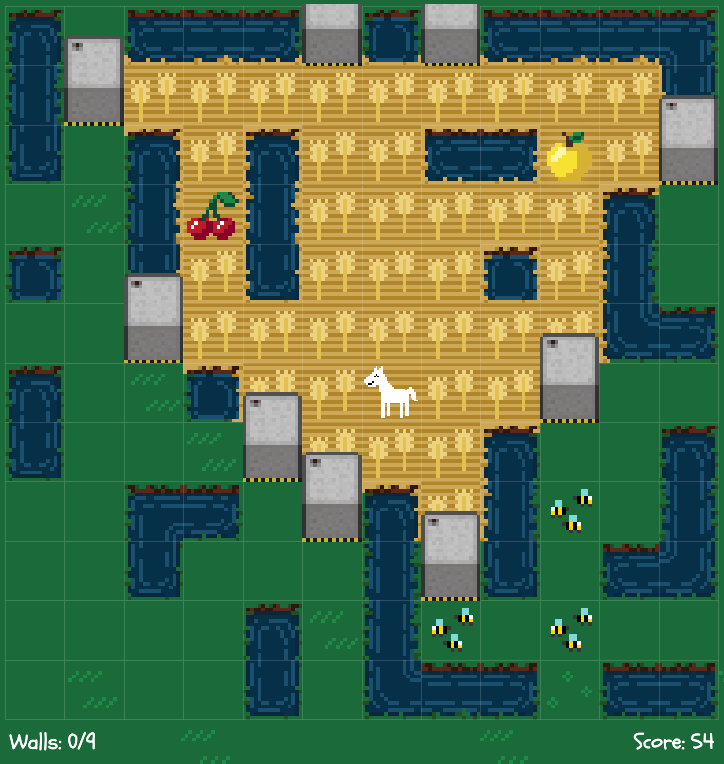
Special tiles can massively swing your score. Golden Apples are worth +10 each and Cherries are worth +3 each. Prioritize apples first, a single Golden Apple is worth more than most small expansions.
In this example, we've expanded the enclosure to include the Golden Apple and increased our score from 21 to 43!
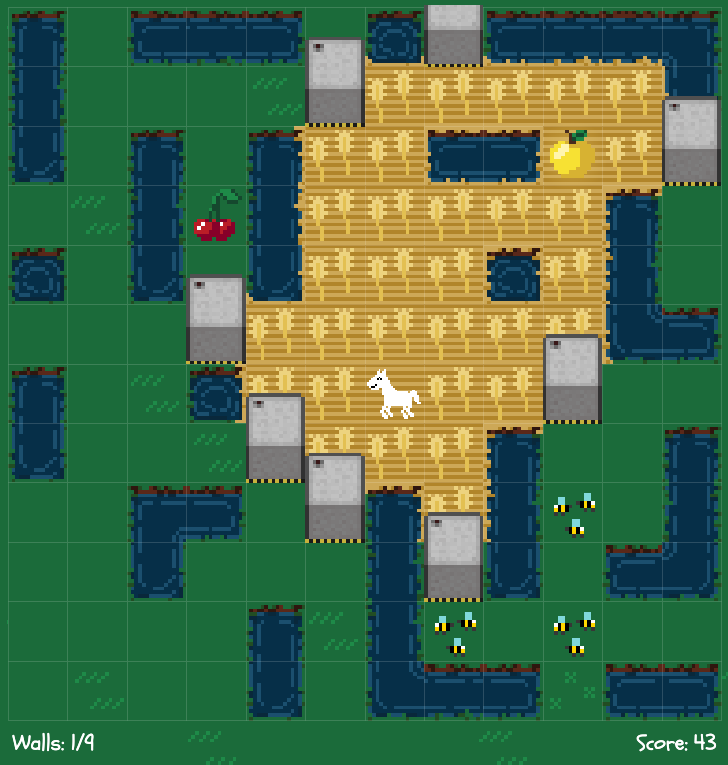
Beware of Bees
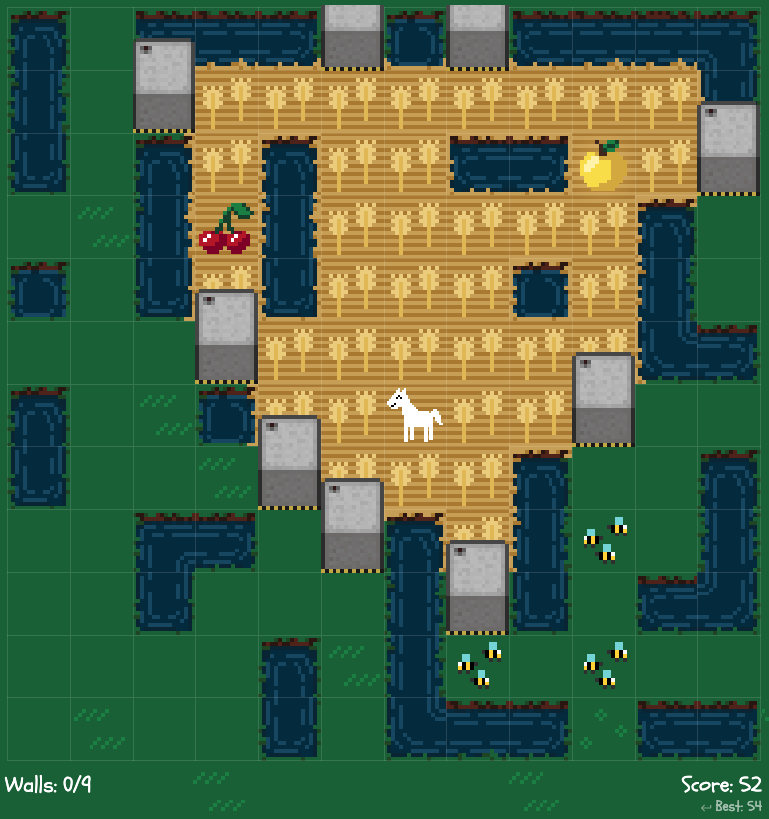
Bee Swarms cost -5 each. That's a huge penalty. You need to enclose 5 extra grass tiles just to break even on a single bee.
In this example, we've expanded into an area with lots of bees. Even though the enclosure is bigger, our score actually went down. If possible, try to leave bees outside your enclosure, even if it means sacrificing a few tiles.
Use Every Wall
In most puzzles, the optimal solution uses every available wall. If you have walls left over, look for places to expand your enclosure. Even one extra grass tile is one more point.
In this example, we are able to use our extra wall, as well as the walls close to the cherry, to expand our enclosure and pick up a few more points, reaching the optimal solution!
The Diagonal Pitfall
This is the most common mistake beginners make. Compare this enclosure to the one in Step 6. They look almost identical, but there's a crucial difference.
Remember: the horse cannot move diagonally. This means two of the walls here could actually be moved one space outward, giving us two extra points. The horse still can't wander off because diagonal movement isn't possible.
Quick Reference
- Always start by getting any valid enclosure around the horse
- Avoid spending many walls on small areas; look for efficient shapes
- Prioritize Golden Apples (+10), then Cherries (+3)
- Avoid enclosing Bees (-5) unless the surrounding tiles are worth it
- Use every wall; leftover walls are wasted potential
- Exploit diagonal gaps! The horse can't move diagonally, so use that to your advantage
- Tap the horse in-game to see where the horse might wander